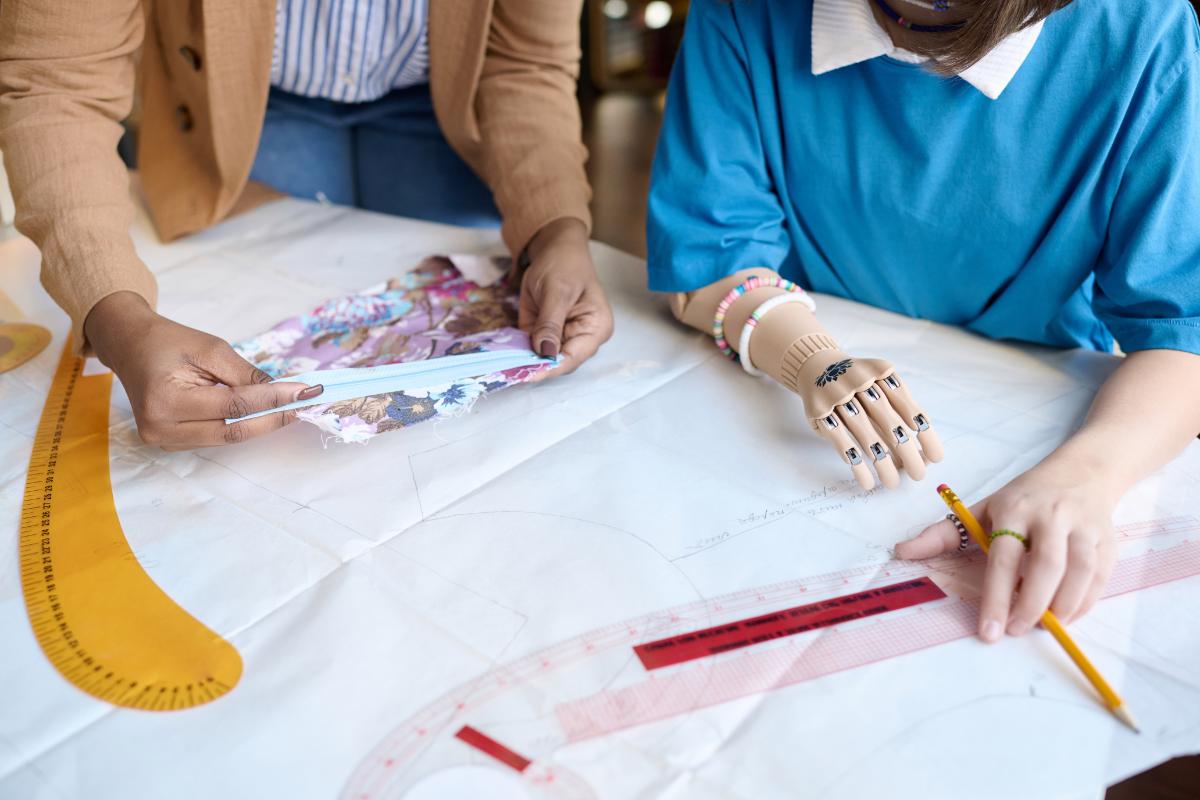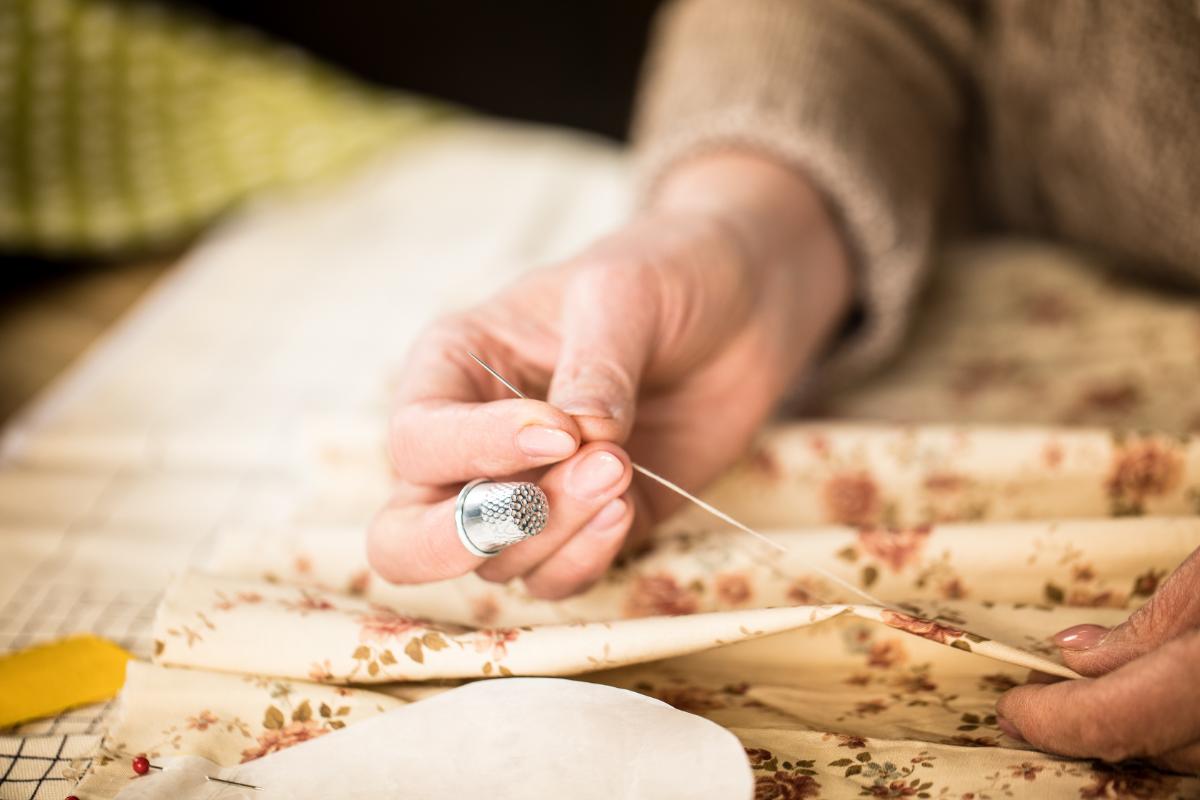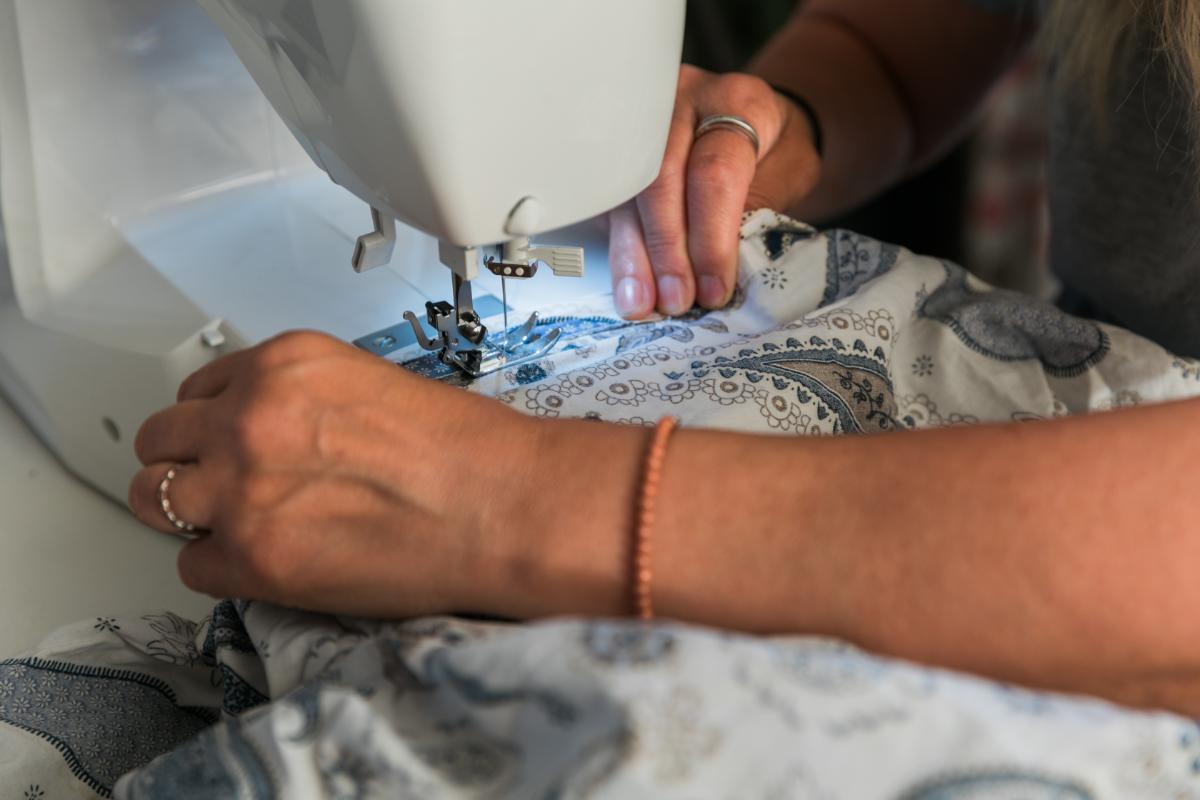
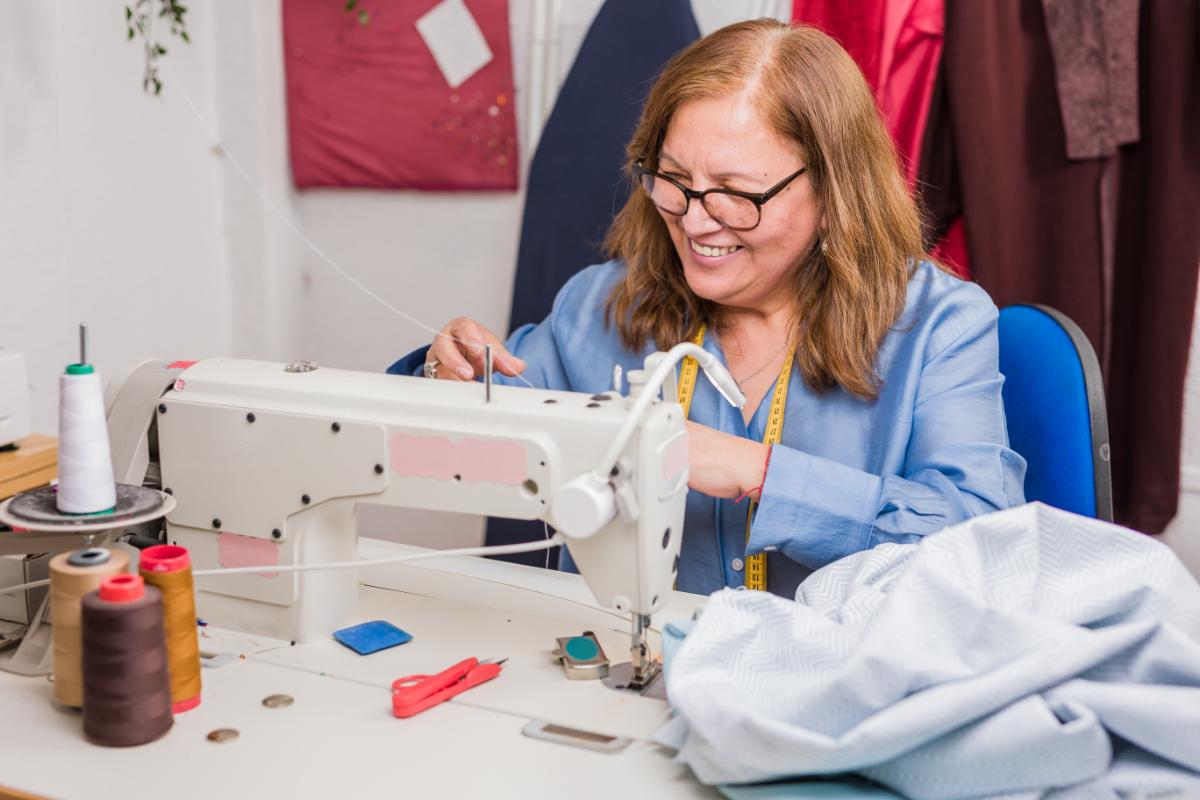
If you’re looking for a practical and fun beginner sewing project, making your own tote bag is a fantastic choice! Tote bags are versatile, eco-friendly, and easy to customize. Plus, once you learn the basics, you can personalize your tote with different fabrics, sizes, and embellishments.
In this tutorial, I’ll walk you through the entire process of sewing a simple, sturdy tote bag from scratch. By the end, you’ll have a handmade tote bag ready for groceries, books, or everyday use — and the confidence to tackle more sewing projects!
What You’ll Need
-
Fabric: About 1 yard of medium-weight cotton or canvas fabric (for durability)
-
Thread: Matching color, cotton or polyester
-
Sewing machine (or hand sewing tools if you prefer)
-
Scissors or rotary cutter
-
Pins or clips
-
Measuring tape or ruler
-
Iron and ironing board
-
Optional: Fabric marker or chalk, seam ripper
Tote Bag Dimensions
For this project, we’ll make a basic tote bag about 15 inches wide by 16 inches tall with 1-inch handles that are 22 inches long. You can adjust these measurements to suit your needs.
Step 1: Cut Your Fabric Pieces
You’ll need to cut:
-
Two rectangles 16 inches tall by 15 inches wide (for the front and back)
-
Two strips 22 inches long by 2 inches wide (for the handles)
Tip: Use a rotary cutter and mat or sharp scissors to get clean edges.
Step 2: Prepare the Handles
Fold each handle strip in half lengthwise with wrong sides together and press with an iron. Then, open it back up and fold each long edge into the center crease, pressing again. Finally, fold the strip in half along the original crease and press. You now have a neat, sturdy handle strap.
Topstitch along both long edges of each handle strip for durability.
Step 3: Sew the Handles to the Bag Body
Lay one body rectangle flat with the right side up. Position the handles on top, aligning the raw edges of the handle ends with the top edge of the bag body. Place the handles about 4 inches from each side edge. Pin in place.
Repeat for the other body piece.
Step 4: Assemble the Tote Bag
Place the two bag body pieces right sides together, with the handles tucked inside between the layers. Pin all around the edges, leaving the top open.
Step 5: Sew the Bag Body
Using a ½-inch seam allowance, sew around the sides and bottom of the bag, removing pins as you go. Remember to backstitch at the beginning and end to secure stitches.
Step 6: Finish the Seams
To reduce bulk and make your bag look professional, press the seams open with an iron. You can also trim the corners diagonally to reduce fabric bulk and help the bag corners turn out nicely.
Step 7: Create the Boxed Bottom (Optional)
To give your tote bag a flat bottom, pinch each bottom corner so the side seam and bottom seam align, forming a triangle. Measure about 2 inches from the point of the triangle and sew straight across. Trim off the excess fabric.
Repeat on the other corner.
Step 8: Finish the Top Edge
Fold the top edge of the bag down ½ inch towards the inside and press. Then fold it down another inch, press, and pin. Sew around the entire top edge to create a clean, sturdy hem.
Step 9: Turn the Bag Right Side Out
Carefully turn your bag right side out through the open top. Push out the corners with a blunt tool like a chopstick or knitting needle to get crisp points.
Step 10: Final Press and Check
Give your tote bag a final press with the iron to smooth any wrinkles. Check all seams and topstitching to ensure everything is secure.
Congratulations! You’ve Sewn Your Own Tote Bag
Now you have a beautiful, handmade tote bag ready to carry everything from groceries to books or craft supplies. This simple project is a great way to practice straight seams, pressing, and topstitching — foundational skills that will help you as you tackle more complex sewing projects.
Customize Your Tote
Once you’re comfortable with the basics, try adding:
-
Pockets (inside or outside)
-
Decorative appliques or embroidery
-
Lining with a contrasting fabric
-
Adjustable straps or closures like snaps or zippers
Final Tips for Success
-
Take your time pressing carefully between steps — it makes a huge difference!
-
Don’t be discouraged if your first bag isn’t perfect. Sewing takes practice.
-
Experiment with different fabric types and colors to create totes that reflect your personal style.